ULTIMATE XP DOCUMENTATION
1 Introduction
2 Quick Start Guide
3 Quick Start UFPS Guide
4 Creating a custom XPLadder
5 Creating a custom RankLadder
6 Setting max allowed prestige levels
7 Adding your own rank images
8 Using the xp feed
9 Creating rewards
10 Editing rewards
11 UltimateXP options
12 Resetting data
1 Introduction
UltimateXP is a complete xp solution for your projects it works exactly like call of duty and other great games which means you can clone there xp ladder if you wish to replicate the same experience you get from playing there games or create your own unique ladder.2 Quick Start Guide
Getting UltimateXP up and running in your projects is as easy as copy and pasting 3 lines of code and adding an xp script to an enemy.
If you are using UFPS please skip this section and go to section 3
The following lines of code are all you will need:
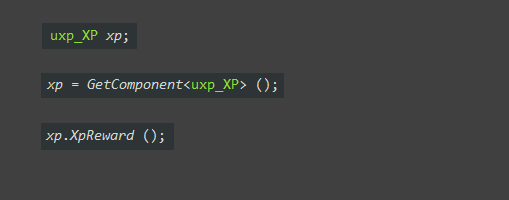
The best place to add these lines are in a script where you call a death method or where you deduct health as this is where you generally will add xp to your player.
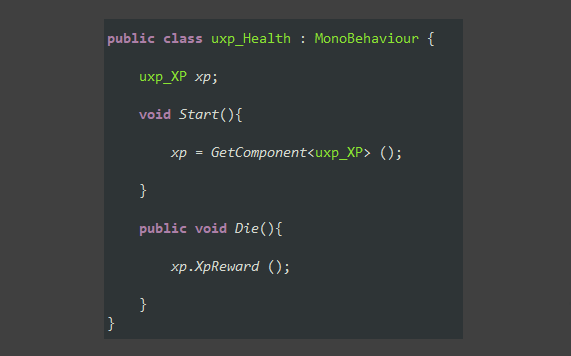
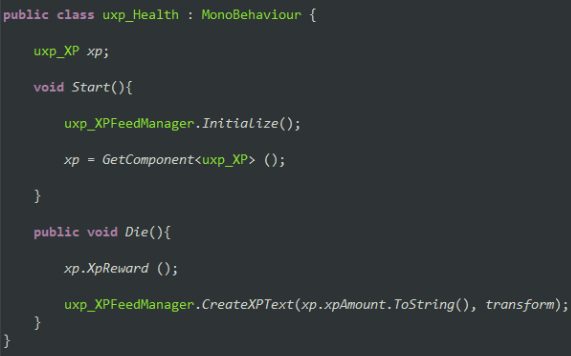
Below is an example on how we add the above lines of code for the demo scene in the asset:
3 Quick Start UFPS Guide
Getting UltimateXP up and running in your UFPS projects is easy, All you have to do is add 2 scripts to your objects you want to earn xp off
The first script to add is called uxp_UFPSXP.cs this is found under Assets/UltimateXP/Scripts/UFPS_Addons Just simply add this to a gameobject with a Vp_DamageHandler and thats it The next script to add is the uxp_XP.cs script to the same gameobject then set the xp amount and multiplier You should now have the 2 scripts on your gameobject like below: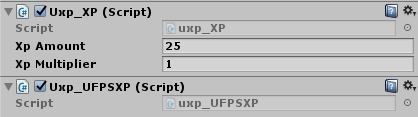
4 Creating A Custom XPLadder
Editing the xpData is really simple you can either use the default setup or add your own unique ladder like below: To find the xpData file go to Assets/Resources/XPData Here you will find a text file double click to open it up in your chosen editor. When editing the data file always leave the first line as 0 to ensure your player starts at 0 when first playing. Setting the max level: When you decide on what your games max level will be you must make your xp finishes a level above it ie: In the default setup max level is 55 so the total xp to reach is set at 56. This is becuase we want our player to complete level 55 and also we don't want our player to pass the max allowed level and thus we set an xpcap to level 56. The example below shows a setup where we set the max level to lvl 5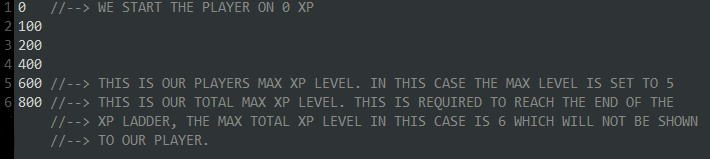
5 Creating A Custom RankLadder
Editing the rankData is just as simple as the xpData you can either use the default setup or add your own unique ladder like below: To find the rankData file go to Assets/Resources/RankData Here you will find a text file double click to open it up in your chosen editor. When editing the data file always leave the first line blank to ensure your player starts at the first rank title when first playing. Setting the amount of rank titles: Once you have decided on your max player level you must set the amount of rank titles to the exact same, So we set 56 levels so our last title must finish at 56. You will notice that we have another title at 57 called prestige, You must always put this below your last title as this serves as a temporary title for prestiging. The example below shows a setup where we set the max title level to lvl 5
6 Setting Max Allowed Prestige Levels
If you decide to use prestige mode you must set the amount of levels in the UltimateXPOptions script, This is found in the menu scene just simply add the amount of prestiges here. The amount of levels must match the amount of prestige icons you want to use. Read below to see how we add custom rank icons and prestige icons.7 Adding Your Own Rank Images
Adding your own rank icons is another simple task all you need to do is go to Assets/Resources/Ranks Here you will see the default rank icons and a folder called Prestiges where our prestige icons are found. When adding your own icons the same rule applies when editing the xpData and rankData you must have the same amount of icons to levels you created ie: our max level is 55 so we have 55 icons. Icons must be named 1-55 or to how many levels you have. You will notice that there is another icon named 56 this is the first prestige icon, You must have your first prestige icon here. Adding your own prestige icons is done in the same way we added our default icons. By default we have 8 levels so we name our icons 1-8.8 Using The XP Feed
If you would like to use the xp feed where the amount of xp earned is displayed you simply add the following 2 lines of code to your enemies health script.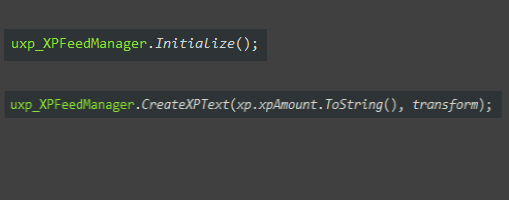
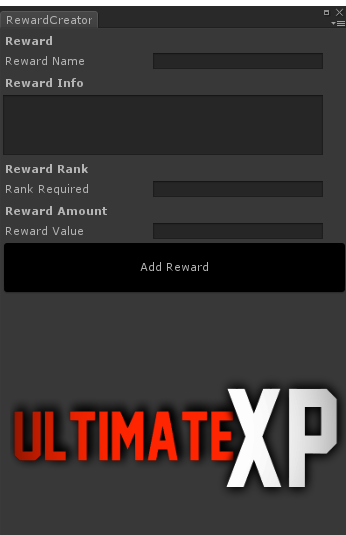
9 Using The Reward Creator
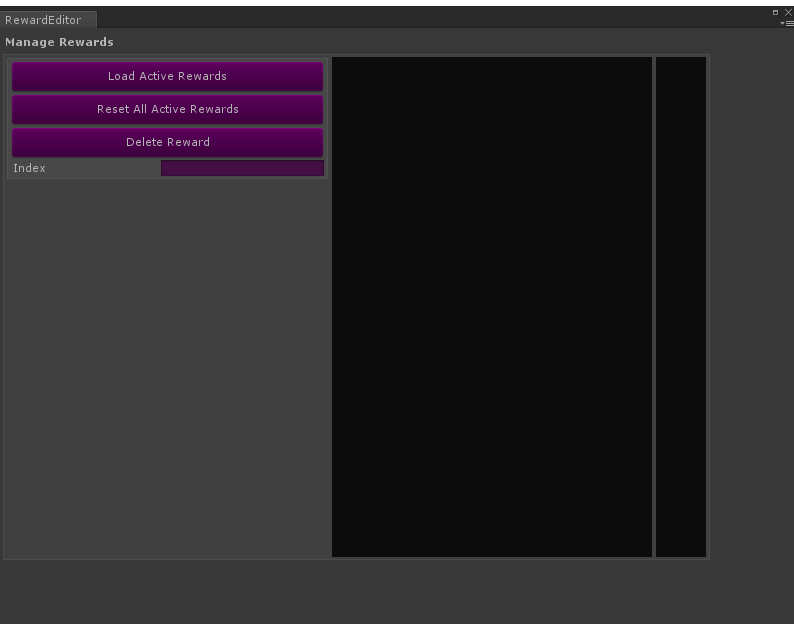
10 Using The Reward Editor
11 UltimateXP Options
The UltimateXP Options script allows you to choose a number things: # Use Required XP "This option will show the required amount of xp needed to reach the next level, By default this shows to total xp needed" # Use Prestige Mode "This option will enable you to use prestige mode, If false your player will stop at your chosen max level" # Use Reward System "This option will disable using rewards" # Use Rank Badges "This option will disable using rank badges if set to false" # Use Promotion Animation "This option will disable the rank up animation if set to false, If rank badges is set to false this option will not work even if true" # Set Allowed Prestiges "Here you set the amount of prestige levels as discussed in section 6"12 Reset Player Data
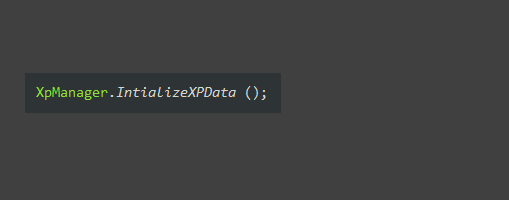
To reset your players xp level and start again you simply call the following: